The photos and explanation below
show the water softener installation using a kit purchased from Chris Coffee.
This kit was initially installed for use with an Isomac Tea. Later I used it with a LaSpaziale S1 Vivaldi II and now it is connected to a LaMarzzoco GS/3. When I initially moved up from the Isomac Tea, I replaced all the
1/4" John Guest fittings and tubing with 3/8" for better water flow to the
larger capacity machines. This was a snap thanks to the design of the
John Guest fittings. Regardless of the size you use with your installation,
the instructions and photos below still apply.
- Softener System which includes both a water softener and carbon filter
plus all required installation parts:
http://www.chriscoffee.com/products/home/plumbing/softenersystem
If you already have soft water or an in-house softener system, this kit is
not required. However, if you are on a well or other system where the contents of the water may be suspect, the carbon filter alone is a good investment.
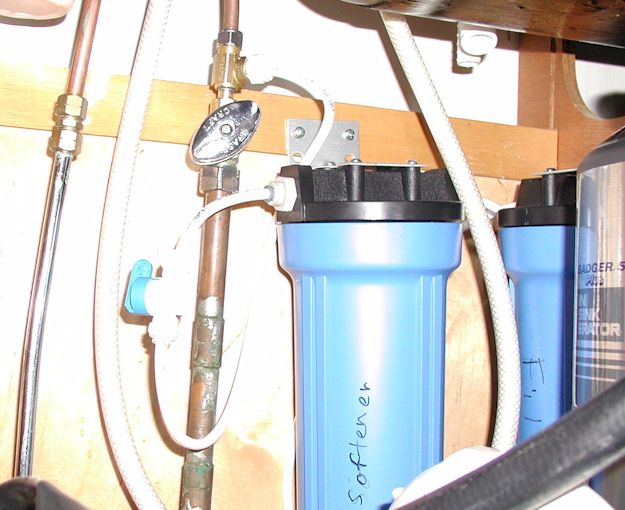
The first photo below shows the plumb-in of the water softener and carbon
filter system. The first step to installation is to insert the "T" connector
(Max Adaptor 3/8" CP by 1/4" JG) right above the cold water shut off valve. In my
installation a non-flexible copper pipe extended down from the kitchen sink's
Delta faucet to the cold water valve. Consequently, I had to unscrew
the shut off valve, hack saw about 1 1/4" out of the 5/8" cold water line
and re-install the shut off valve in order to create enough room to insert
the "T" valve into the cold water line. Completion of this stage DID require
a quick trip to the nearest hardware store. A new 5/8" compression ring at a
cost of $0.35 was required as the original one could not be reused since I
could not budge it off the cut out section of 5/8"pipe. This compression
ring goes over the 5/8" pipe that screws into the bottom of the cold water
shut off valve.
Many modern homes - or older ones with remodeled kitchens - may use a
flexible line above the cold water shut-off valve. In those cases
installation is much easier as no pipe cutting is required.
Once the "Tee" connector (Max Adaptor 3/8" CP
by 1/4" JG) is installed, a short section of flex water line (John Guest
1/4" tubing) is installed into the "Tee" followed by an included John Guest
1/4" Ball Valve valve (the part with the blue valve). This valve
allows the water to be shut off to both filter cartridges when servicing
them is required without having to shut off the water to the kitchen sink.
Connection of all the remaining parts was a breeze as the John Guest 1/4"
tubing cuts easily with scissors. Installing it into each fitting is a
matter of pushing it firmly into the fitting.
A short section of the JG 1/4" tubing then connects to the inlet of the water
softener. Another short section of JG 1/4" tubing connects the output of the
softener to the input of the carbon filter. As noted on the Chris Coffee web
site, the carbon filter canister MUST follow the softener canister.
with this arrangement, should any of the resin beads escape the softener
cartridge they will get trapped in the carbon filter cartridge preventing
them from ending up in the boiler.
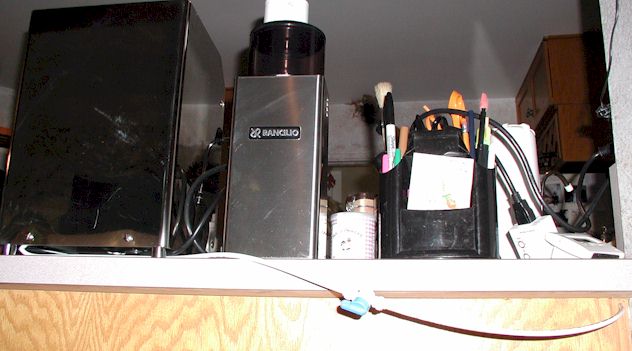
A short piece of JG 1/4" tubing then connects the output of the carbon filter
to the input of a pressure regulator. (This connection is hidden behind the
garbage disposer in this photo.) The output of the pressure regulator passes
through the back of the cabinet. (See the 2nd photo.)
|